With the outbreak of COVID-19 and many parents opting out of extracurriculars until further notice, music teachers around the world are scrambling to set up online lessons.
Perhaps fortunately for me, I’ve been teaching regular weekly lessons online for the past several years. When I moved back to California from Colorado, I had been teaching 25 students a week in addition to my public school instrumental music teaching job. I was able to match many of my students with my local teacher friends when I left, but when I suggested switching to lessons online, there were a number who made the leap with me. (Plus, parents and students alike seem to love not having to get in the car to go to one more friggin’ activity.)
Since then, all of my students have made lots of progress, and have continued to find joy in their playing. One even won a fiddle competition this year!
I love teaching online, and never plan to stop. Here’s some advice I’ve collected over the years.
Hardware and Software
I personally use FaceTime with all of my students. Say what we will about how instrumental music instruction should be available to everyone who wants it, the fact is that nearly every family that can afford lessons can also afford an iPhone or an iPad. FaceTime is also the easiest for them to access; my 5-year-old students can do it with minimal help, so hopefully Grandma can, too. Just tell them “find my name in your contacts, and tap the symbol that looks like a video camera.” (It’s an old-fashioned-looking video camera, so that should help Grandma out.)
Skype works the same way, and it’s the way I recommend to go if you aren’t an Apple user. You probably have an account already from the early days of video chat when Skype was the only game in town (good luck remembering the password), or you can set up a different account with your studio email and a more professional username if you want to keep your personal and professional lives more separate.
Some other teachers who work online recommend Zoom, as it’s been the standard in video conferencing in the business world for some time now. I find it more difficult both to use and to teach others how to use, especially if you’re just teaching online in the short term. But if you’re adventurous and tech-oriented, it probably has applications for group classes beyond the scope of what I’ve tried so far.
UPDATE late 2020: So, it looks like everyone knows how to use Zoom now, so go for it! 🙂 Haha
If you aren’t particularly tech-savvy, be sure to get a friend, younger family member, or even one of your studio parents or teenage students to help you test your setup before you roll it out with your students. Pick a time outside a normal lesson time to practice this. Especially if you aren’t quite sure about all the steps involved (and even if you are), write EVERYTHING down. Why?
Because you’ll have to be ready to be tech support for your entire studio.
If this seems daunting, relax. You can do this. You’re a teacher, remember? This is your thing. On the bright side, private lessons means you can help each student individually.
Scheduling and Studio Policies
If you are reading this in March 2020, you probably already have your school year schedule set up. Great! Even though the kids are out of school, do your best to see that everyone keeps their regular lesson time. We all know how important a routine is for little kids; it is for us big ones, too. (They may already be doing school online during this quarantine time, which sets a great precedent for your lessons being online as well. This may just be the American in me talking, but you know if the school district can get it together to teach online, you sure as heck can figure it out!)
Next, make sure you establish who is going to call whom, and make it the same for everybody. This is way more important than it sounds! When I first started teaching online, some students thought I was going to call them, and I thought they were going to call me. It didn’t take me very long to figure out that I just needed a policy in place. I went with having students call me at their established lesson time so the onus is on them to show up for their lesson, but either way is fine as long as it’s the same for everyone. Just pick one in order to prevent both parties staring blankly at their devices during the first few minutes of the lesson.
Now, look – you run a business. Even though this may be your first time teaching online, don’t be afraid to keep your studio policies in place, whatever those might be. Especially when it comes to being on time for their lesson, it’s unlikely they got caught in traffic coming from the bedroom to the living room (although in houses with one bathroom, you never know.)
However, with many parents temporarily out of work, and many families directly affected (or infected) by the virus, bear in mind that money may be tight for your families right now. If you know that one of your families is going through a rough time and you have the financial ability to do this, you might want to consider allowing that family to defer payment for lessons, or offering them a reduced tuition rate during tis crisis. This is your chance to be the music teacher you want to see in the world. We’ll get through this together. 🙂
The first lesson online
So, you’ve worked out the technology kinks, you’ve got your students scheduled, and the video chat is ringing for their first lesson. How exciting! Once you’ve connected, take a couple of minutes to find out what life is like for your students at home right now. Bridge the gap between in-person lessons and video lessons by reminding your students you care about them and you’re curious about their opinions, and what they have to say is valuable. Don’t worry that this looks like chatting to the parent; you should use this time to make sure you can see and hear the student, that there are no bright lights behind them (or you) and that they put the camera device on a music stand or something, angled so that you can see what you need to see.
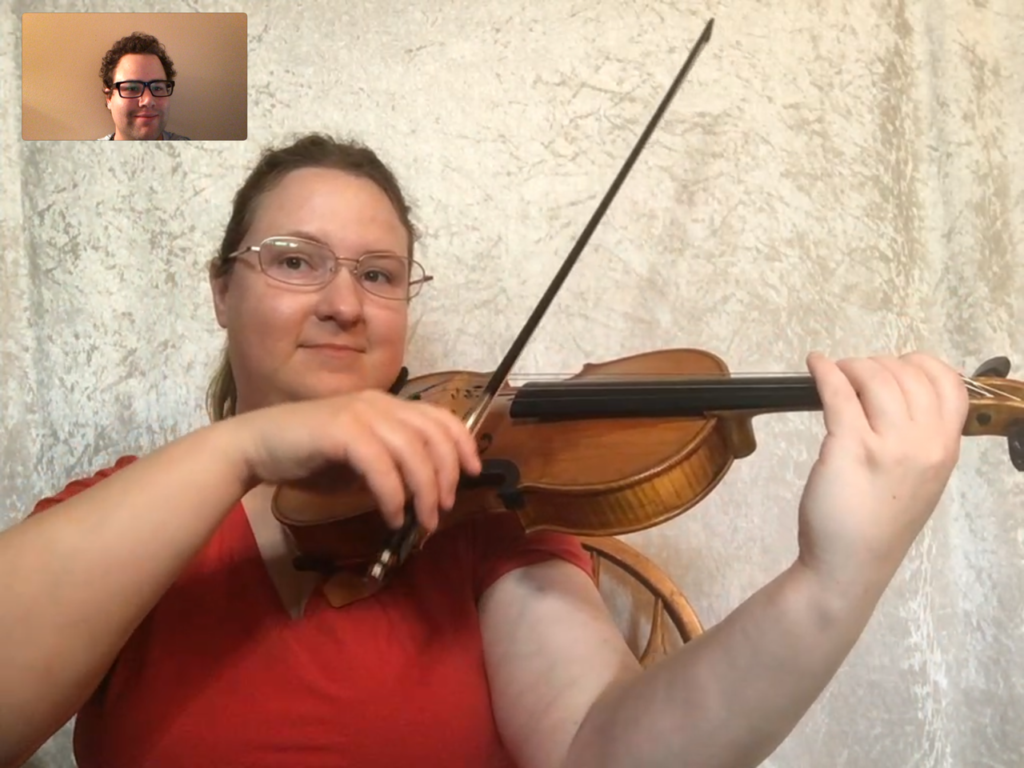
When you are ready to start teaching, ask them to hold up their instruments in play position to make sure you are ready to go. Taking the time in the first lesson to make sure you can see all the parts of their instrument and involved body parts is crucial. But, you also want the student as close to the camera as possible so you can see and hear each other. Most of my students play violin or viola, so this means I have to see all the parts of their instrument, as well as their left hands and upper right arms. Due to the nature of playing these instruments, their bow hands will go in and out of the frame. But, I’ll be able to see the bow contact point on the string, their shoulder and upper arm, and their bow hand in the lower half of the bow (the important part), so that gives me 99% of the information I need.
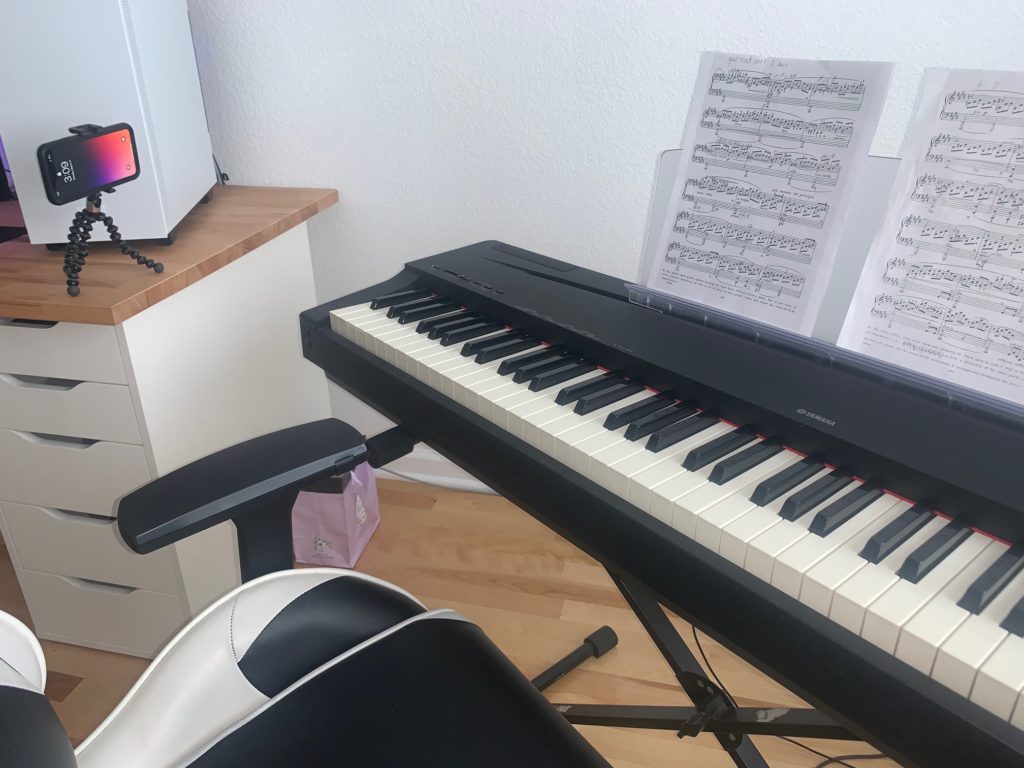
Portrait or landscape orientation is up to you and the instrument you teach. I use portrait orientation only for cello lessons, and landscape for everything else I teach (violin, viola, piano and musical saw.) It just depends on the shape of your instrument.
Teaching piano over video chat is particularly challenging in this regard. I usually have my students place the camera at the bass end of the keyboard, up high enough to see where both hands are on the keyboard.I can see the left hand better than the right this way, but since the tiny phone mic and speakers pick up the treble end better, this gives me a better sense of what’s going on overall. The only downside to this is that the students have to stop playing and lean over in order for me to see their faces, but that’s not really necessary except when saying hello and goodbye. From this angle, they can see me just fine. A couple of my students use this phone mount (affiliate link) or something similar, and I’ve been told that one just uses lots of tape!
In terms of what to teach at this first lesson, just continue what you’ve been doing. Trying to explain something new at your first video lesson can be frustrating; so just let your student know that everything will be fine, and that you have the same expectations and soft spot in your heart for them that you always do. Remember, we’re not just teaching music, we’re teaching the whole person, and you are there to support the child as they grow up. Right now they may be excited to be out of school, they might miss their friends, or they might be nervous for the state of the world. Whatever is going on, having a consistent adult figure in their lives during changing times is beneficial for a child.
Dealing with students’ physical issues, or teaching something physical online
The bright side to being forced to teach online is you are probably working with students that you know already. You have a good idea of their strengths and weaknesses, so trust that you can prevent them from getting worse while you can’t see them in person. You may be surprised at how much you can pick up from physical cues in other parts of their body; for a violin-specific example, extra motion in their shoulder and a crooked bow will mean they’re moving their elbow instead of opening and closing their arm. Even if the elbow is off camera, it doesn’t take a genius to figure out what’s going on; besides, you likely saw it in person at their lesson last week.
You should have taken the time at their first online lesson to make sure they know what you need to be able to see, but don’t be afraid to tell them to scoot left or right to get back in the frame – especially if they’re standing to play, they’re likely to drift a little. Also, be sure to ask them to show you things you can’t see from your camera angle, for another violin example, ask them to show you the thumb on their bow hand (which is covered up by their fingers). You can also have them flip around so you can see any tension in their necks or the thumb on the violin neck, especially if they’re working on vibrato.
If you are used to being more hands-on with a student and you aren’t sure how this is going to work at all, don’t forget: your students are most likely stuck at home with at least one more person; don’t be afraid to involve a parent or other adult in the student’s lesson! If you would normally place your hand on the student’s shoulder to remind them not to raise it, instruct the parent on how to do that instead. Don’t forget, parents can move the camera to show you different angles as well. Likely the parent will be curious as to how this is all going to work anyway, and will want to be present for at least a few minutes to make sure a lesson is really actually happening at their house. There’s also a chance the child is using the parent’s phone for the lesson, which means you probably have a parent as a captive audience. Use it to your advantage!
This brings us to the next point:
Making it work with students under 7
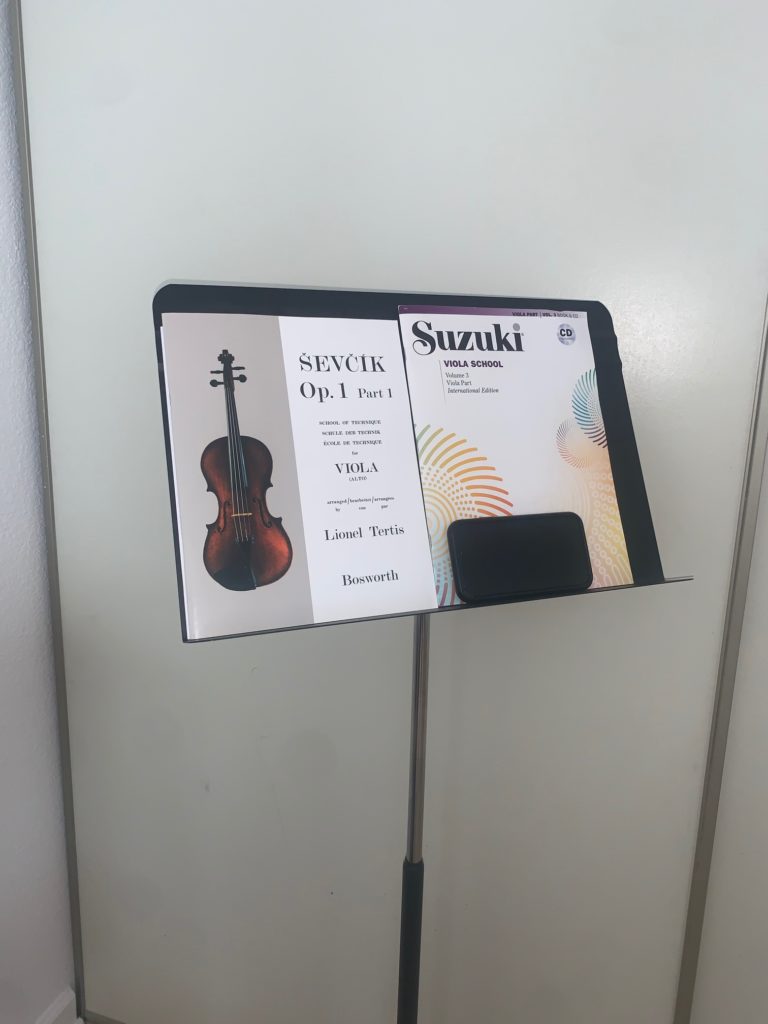
So maybe, like I once did, you have a lot of little ones in your studio. You are probably used to being more hands-on with these kids than with your older ones, but again, definitely involve the parent in the lesson. If you are a Suzuki teacher, your studio parents are probably used to being at least present in the lessons and will be ready and willing to jump in. If your young students’ parents are used to dropping them off for half an hour, or are used to being in the room but tend to sit on their phones during the lesson, this is a great opportunity to get everyone used to participating in the lesson together.
If you are involving parents in the lesson for the first time: parents are used to being in charge of their kids’ behavior, and the student may end up listening to the parent instead of you. You need to be the only teacher in the room; and the parent is just your assistant. They should ask as many questions as they need to to help facilitate practice, but they aren’t responsible for making sure the child pays attention; that’s your job and you aren’t judging the parent if the child isn’t cooperating. Make sure you gently communicate this to parents ahead of time.
As a side note, having parents more involved than usual is often enough to engage the student as well – even the littlest ones probably realize on some level that the parent is out of their league and a little bit uncomfortable, which is interesting to them. They also have the sense that the parents will now know what’s going on more intimately when it comes to practice time, so they’d better listen up. 🙂
In terms of engaging the little students: it’s dog and pony show time! Bust out the puppets, colorful props, game boards (these are great for repetition), whatever will keep their attention. I highly recommend using the frame of what they can see to your advantage – the ability to have stuff poke out of the bottom, top and sides of the frame makes teaching online so much like a puppet show stage. Watch a YouTube video of a puppet show for some good ideas. It’s maybe more work than you’re ready for (and I certainly don’t recommend buying a bunch of new puppets online for this purpose) but even just playing with what the kids can and can’t see makes it fun and interesting. Especially for little kids who probably have limited screen time, suddenly their music lesson becomes an interactive television show. Go with it!
Payment
If you teach through a music school, you probably don’t have to change anything about how you get paid. However, if you’re used to students bringing you a check or cash to their lessons, maybe it’s time to move this online as well.
I recommend PayPal or Venmo, or Zelle if you want to go directly through your bank. You don’t need a business account, per say, if you’re ready and willing to keep your personal and business accounting separate by looking at each individual transaction. (Pro tip: if you use PayPal, have the parents select the “Friends and Family” option on the page right before they send or you’ll get charged a fee. Your students are like family, right? *crooked halo* To be fair, it now says “Choose this when paying someone you know” so I don’t feel bad recommending this anymore.)
Again, be ready to be tech support for your studio families. In my experience, a studio of any significant size will run the gamut: you’ll have some families who already have their preferred way to send their own friends and family money, and some who thought they’d be able to go their whole lives without learning this newfangled smartphone contraption. Bonus points if you can help them troubleshoot, otherwise send them these links:
Fun repertoire
Your students are home, and are probably bored a lot of the time right now. Why not use this time to introduce new pop songs, or maybe theme songs or background music from their favorite video games, television shows or movies? Imagine the progress they could make if they spent this time at home practicing… One of my middle school students found his love of viola again by downloading Audacity (free recording software, if you aren’t familiar) and recording part of an Undertale video game theme he arranged for several violas. We have been cramming so much theory into those lessons, but most importantly, he loves the viola again.
I hope you’ve found this to be helpful. If you have any questions, be sure to leave them in the comments section, or you can contact me directly.
Stay safe and healthy, everyone! As a friend of mine said “wash your hands like you just cut up a bunch of jalapenos and now you have to put in your contacts.” 🙂
Virtual hugs,
Caroline McCaskey
P.S. If you’re a string teacher looking for new and interesting repertoire, as well as ways to incorporate non-classical music into your studio without spending a bunch of lesson time on it unless you want to, why not check out my AltStrings Fiddle Method? I’m very proud of this brand-new second edition, and it’s garnered praise from other teachers, parents, students, and today’s fiddle legends.
With QR codes linking to video lessons on each page, they’re set up perfectly for students learning at home. Check out “Free Video Lessons” on the menu above to see me teaching every lesson in the book, for free!
It’s not just tunes, either; as they progress through the method, students will learn how to play backup chords, write their own harmonies, and create their own arrangements. This is perfect for when the world opens back up and they get to play music with their friends again. 🙂
And don’t worry, in these books you won’t find any racist minstrel songs or any of that inappropriate-for-kids nonsense you might see in other collections of fiddle tunes. Just good, clean, fiddle fun. 🙂